Installing SOLIDWORKS Network Edition using an Individual Installation
Before undertaking these instructions, you must first have performed the following procedures:
- Installed and activated the SolidNetWork Licence Manager on your server computer. See our Full Instructions.
- Checked that the operating system on your computers is compatible with the SOLIDWORKS version you are installing. For SOLIDWORKS 2024 this is Windows 10 or 11, 64-bit only.
Full details can be found at the SOLIDWORKS System Requirements page (please note that the remaining specs on this page are only recommended and not necessary - we do not expect schools to have computers with these specs).
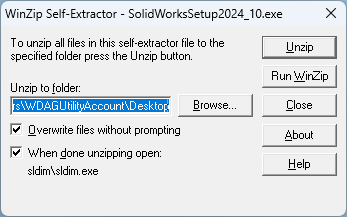
- If you have downloaded the software, you will have an exe file that will be called something like "SolidWorksSetup2024.exe". Double click on this file and a "WinZip Self-Extractor" box will open.
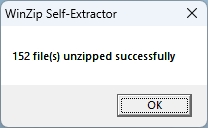
- Click UnZip, and once completed click on OK.
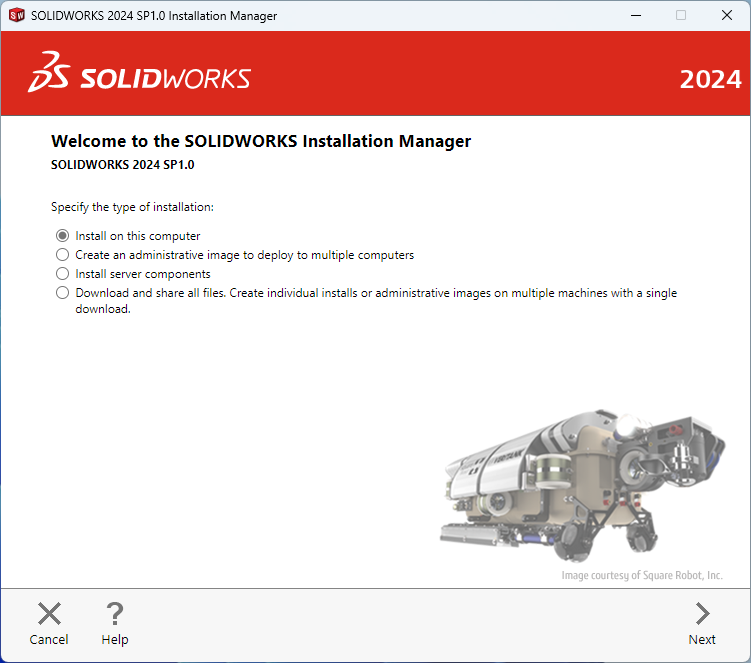
- The SOLIDWORKS Installation Manager should open.
Note: At this point you can choose to install on the computer, or you can "Download and share all files". If you are installing onto several computers it may be quicker to download all files first. Also, if you are having issues when choosing to install on the computer, you should try again using the "Download and share all files" to eliminate any network issues during installation.
This guide assumes you are following the "install on the computer" installation.
- Select Install on this computer and then click Next.
- Enter your Network Serial Numbers. For schools, you only have one Network Serial Number beginning with 9710 - if you enter this into the 3D Design > SOLIDWORKS section, then all of the other components will automatically unlock on the next screen.
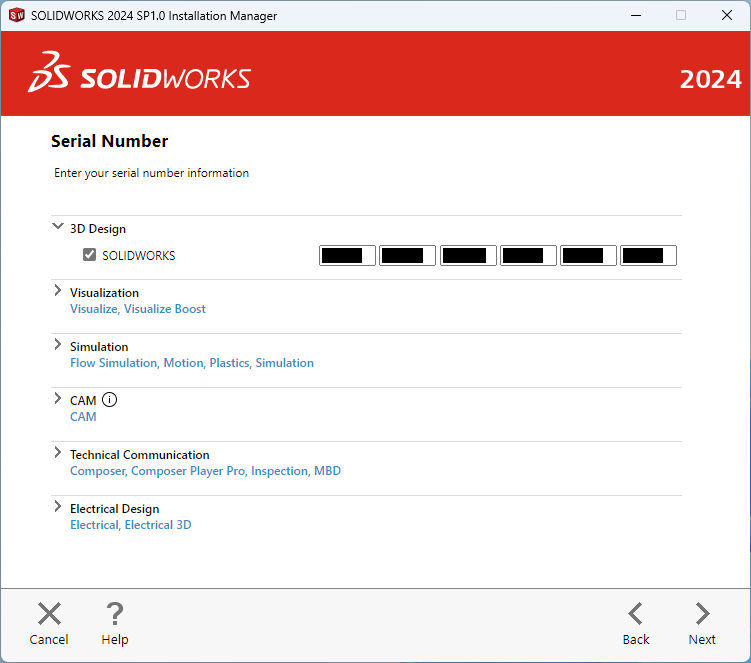
- You can now see what components to install.
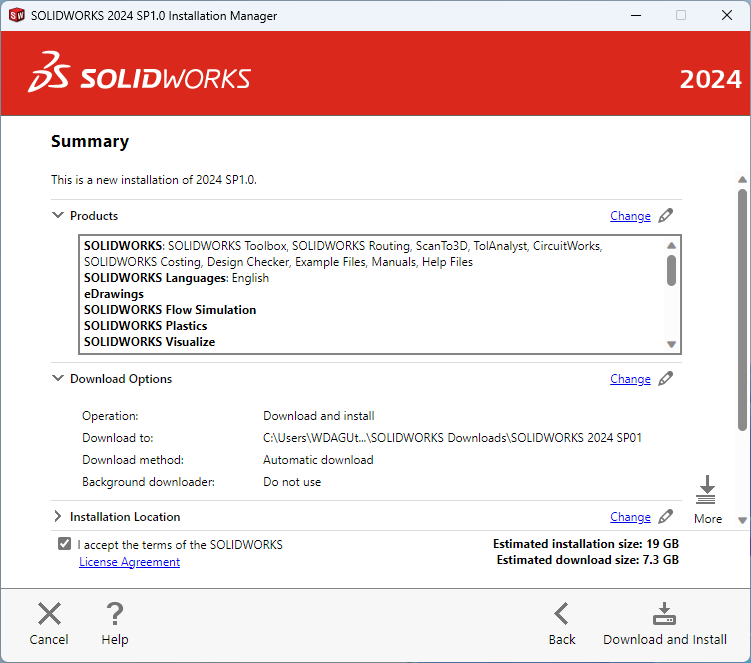
For schools, we recommend clicking the Change button next to Products, and changing the components highlighted in red below (leaving most of them on default):
- SOLIDWORKS (Default: Ticked)
- SOLIDWORKS Languages (Default: English only ticked)
- eDrawings (Default: Ticked)
- SOLIDWORKS File Utilities (Default: Unticked)
- SOLIDWORKS Flow Simulation (Default: Ticked)
- SOLIDWORKS Plastics (Default: Ticked)
- SOLIDWORKS Electrical (RECOMMEND UNTICKING if ticked. Default: Unticked)
TechSoft recommend unticking this component as it involves settings up SQL Server Database. In 99% of cases SOLIDWORKS Electrical is not required in a school environment.
- SOLIDWORKS Composer (Default: Unticked)
- SOLIDWORKS Composer Player (Default: Unticked)
- SOLIDWORKS Visualize (Default: Ticked)
- SOLIDWORKS CAM (Default: Ticked)
- SOLIDWORKS Manage Client (Default: Unticked)
- SOLIDWORKS PDM Client (Default: Unticked)
- 3DEXPERIENCE Marketplace (RECOMMEND UNTICKING. Default: Ticked)
- 3DEXPERIENCE Exchange for SOLIDWORKS (RECOMMEND UNTICKING. Default: Ticked)
TechSoft recommend unticking these components as they are not necessary without a 3DExperience (SolidWorks in the cloud) subscription, and have been known to occasional cause installation issues.
- API Tools (Default: Unticked)
- SOLIDWORKS Simulation (Default: Ticked)
- SOLIDWORKS Motion (Default: Ticked)
- Also on this page you can click the Change button next to Download Options to change the location of where the software will be temporarily downloaded to if needed.
We advise turning Background Downloader off for Education customers by unticking Use the background downloader for future service packs as it may lead to different versions of the software being installed on different computers causing file compatibility issues.
- Finally check that the Installation location and the Toolbox/Hole Wizard location are satisfactory, then check I accept the terms of the SOLIDWORKS License Agreement and click Download and Install.
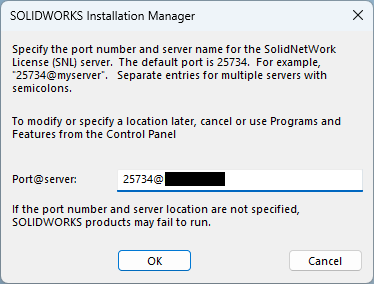
- You will be asked to input your server location. By default this will be 25734@YOUR_SERVER_NAME, but you can double check this by opening the SolidNetWork Licence Manager and going to the Server List tab. Click OK when finished.
- The software will now be installed - this can take a while to complete.
Congratulations, the SOLIDWORKS software is now installed.
All you have left to do is enjoy the wonderful 3D CAD abilities that the software has to offer.
Article Date: 10/04/2024
In this section of our website you will find basic support articles for a range of TechSoft's software and machines. If you cannot find what you are looking for, please contact us on 01745 535007 or email us on sales@techsoft.co.uk


")


